Friday, March 21, 2014

All-Grain Brown Ale

I wrote about the long awaited All-Grain on Monday (snow again), and intended to add BJCP week four to it later that day, or Tuesday, but here it is Friday and I just realized I never finished! So, here is my brewday post. I'll add BJCP week four and five after class on Sunday.

Unfortunately, it... didn't go perfectly, but as far as I can tell, Vick and I made beer. It was a nice day, but it was a little windy which made lighting the gas burner difficult, so we put a tarp up against the deck which made it a little easier.


Here is the strike water heating up. I really like my new brewpot. It has markings to indicate every two gallons on the inside and out, plus it's just a lot bigger and makes me feel like a real brewer.


Next of course, is the delicious malted barely.


 Once we added the water for the mash, it smelled fantastic. At this point we added just under four gallons. It was actually a little too full at first. The top of the mash tun wouldn't go down all the way without spilling water out, so we just let it sit as far down as it would go. I think I'm going to get a 10 gal tun before long, not because I want to make 10 gal batches, but because it will give me a little more room to work with, especially for a larger grain bill.


The first mistake I made was completely forgetting to check the mash temperature. We heated the water up to about 160F hoping to get a temperature of 152F, but I didn't even think to check it until halfway through the mash. At that point it was 142F. I should have thought to just add extra hot water to it, but I figured by the time we heated the water and got the temperature up, the 60 minute mash would be over. This being the first time I've done a mash, I didn't want to add additional variables and decided to just move forward.


When we drained the mash, I started to vorlauf, but I just couldn't get the grain bed to settle. I'll admit I was probably impatient and gave up a little soon. As a result, our brown ale will probably be a bit cloudy, but it should still taste OK.


The tubing for the mash tun kept coming out, so we ended up draining directly into the kettle. Next we heated up the sparge water (about 3.5 gallons) to about 170F and let it sit for 15 minutes. The temp this time was about the same as when we mashed, so I'm definitely going to have to perfect my process in that area. Once we collected all of the wort we ended up with just under 6 gallons, as opposed to the 7.5 the recipe called for. Next time I'll definitely add more sparge water to get the volume up.


The boil went fine, unfortunately, though, when I had the wort chiller in the kettle to santize, I wasn't paying attention to the plastic tubing, and part of it was resting against the hot metal of the propane burner and melted a little hole into it. We tried taping it up, but it didn't really work. We still got the wort chilled fine, but we had to tape the tube to the side of the deck so the spray wouldn't get into the wort.


The burner worked great once we got it lit, but as you can see, the heat burnt a lot of the paint off around the edges. Hopefully all of it that will get burnt off has after the first use, because it let off unpleasant fumes.


Here is the wort being siphoned into the carboy. We ended up with closer to four gallons than five. Again, yet another process to improve.


And here's the wort with yeast added sitting in the basement.


And finally, here she is fermenting away!


All in all, a flawed but successful brew day. I think my efficiency was low due to missing the mash temp so the finished beer will probably be thinner and lower in alcohol than the recipe intended, but that's OK. It should still be pretty good. I think I was so worried about how things would go with the mash at first that I overcompensated a bit into being over-confident and as a result made some mistakes. But it was a learning experience and the next one will be much better.

We plan on bottling April 5. I'd like to purchase a bottling wand. I've never used one before and bottle straight from the spigot, so we'll see how it works out.

Wednesday, March 12, 2014

BJCP Week 3 & Yeast Starter

Week three of the BJCP class was this past Sunday. I didn't enjoy the water presentation as much as I thought I would. We went over the various compounds found in water, and how they affect the finished beer. In balanced quantities they can contribute positively but too much of one or more can at least contribute off flavors, and at most make the beer completely unpalatable. The various beer styles owe their unique properties in large part to the water that was available in the regions the styles were invented. Very early on, brewers weren't trying to develop a specific style, but instead simply worked with the ingredients they had at their disposal. While all of this is interesting in theory, in practice it felt very much like a chemistry class. There's nothing wrong with it, but it just doesn't interest me quite as much as other ingredients or brewing processes.

The one thing I learned that I know I will integrate into my personal brewing process is about Campden Tablets. These are tablets of potassium metabisulfite which, among other things, when dissolved in water will react with chlorine and chlorimine (the two common chemicals used to treat most tap water) to get it out of the water. While I've never had issues with chlorine personally, it can inhibit yeast growth so hopefully beginning to use them will make my beer that much better.

Now, on to the beer tasting. This week we went over Light Ales and Lagers. I really tried to not let my opinion of these first three beers affect my judgement of them, if that makes sense. But, it was so hard. It just doesn't taste good. There are times and places that I don't mind having a Light Lager every now and then, but BJCP class is not one of them, though I recognize the necessity. If we're going to learn all about beer, we need to learn about all beer.

Light American Lager - Miller Lite: Pale yellow color. Grainy smell. Light, slightly grainy taste. Thin body. This was my go-to beer in college. It has probably been since around 2007 since I last had one. It wasn't quite as bad as I thought, but I stopped drinking this kind of beer for a reason; I found stuff that tastes a whole hell of a lot better.
American Standard Lager - Miller Genuine Draft (MGD): Pale yellow color. Grainy smell and taste very similar to Miller Lite, but with a slightly more malt flavor and a bit more body.
Premium American Lager - Heineken: Pale gold color, as opposed to yellow from the previous two. Indistinct sweet smell. Light malty sweet beginning that gives way to a huge metallic aftertaste. This was even worse than I remember Heineken being. Maybe it was a bad bottle, but man was this hard to swallow.

Munich Helles - Paulaner Original Munich Premium Lager: Light, sweet smell; honey. Light golden color. Sweet malty taste, residual bitterness. Hint of cardboard. I think this bottle might have been oxidized just a tad. Otherwise, good.
Dortmunder Export - Ayinger Jahrhundert: Deep gold. Sweet honey smell, maty sweet taste, strong but not unpleasant bitterness with hint of spice and fruitiness. Pumpkin spice.

German Pilsner - Warsteiner Pils: Gold color. Sweet maltiness with residual bitterness. Slight skunk. As with the Paulaner, I think this one might have been a victim of prolonged travel times. The Germans certainly make good beer, but when it's imported, it suffers.
Bohemian Pilsner - Budweiser Budvar/ Czechvar: Golden color. Very little smell. Slightly rubbery flavor. Bready flavor with a bright bitterness and a clear, sweet finish. Called Budweiser Budvar in the Czech Republic, and Czechvar in the U.S. for obvious reasons, this is the beer that the proto-typical "American" beer was modeled after and then destroyed by Prohibition and quantity over quality. I've long wanted to give this one a try, and I think it's a victim of both importation, and overhyping. It's not bad, but it doesn't live up to its reputation. For all I know, the recipe for the beer they export is different. I'd love to get over there, or at least closer, and see what some real Budvar is all about.
Classic American Pilsner - Coors Batch 19: Deep gold color. Sweet malt flavor, medium-light body, distinct hop bitterness. This is a style that supposedly copies what American Pilsners were like before Prohibition. Holy crap, Coors can actually make a decent beer! Honestly, I'd buy a six pack of this for myself. If anything it would be a message to Coors that they should focus more on this kind of thing.

Cream Ale - Genesee Cream Ale: Pale gold color. Sweet malt flavor, medium-light bodied, smooth.
Blonde Ale - Heavy Seas Gold Ale: Floral smell and taste. Lingering bitterness.

One thing about making tasting notes in this class is that all the beers each week largely have a lot of the same flavors with subtle differences, mostly in regard to the balance of those flavors. I think I know why they do it that way; they're attempting to train your palette to pick up on subtleties, but it's difficult, especially in that setting. I'm literally using all of my senses at once: tasting the beer, smelling the beer, examining the beer's appearance, and its texture in my mouth all while listening to my classmates and the presenter, and also trying to contribute my own thoughts. There's just too much going on. Towards the end I stopped writing as much because as you can see, I was just repeating myself. Hopefully I'll get better with time both in terms of my palette and my descriptive skills.

Next week the technical topic is hops, and the beer topic is Bitters and Pale Ales. Hops and Pale Ales were what first got me into the good stuff, so it'll be interesting to look at it with a more critical eye.

On Monday I also filled in for my Homebrew Club's Guild Rep at the monthly Freestate Homebrew Club Guild meeting. Not a whole lot of interest to report, but I had fun and sampled a few home brews. We talked about upcoming events like Homebrew competitions and such. It was good times.

Last night I made a yeast starter in preparation for Saturday's brewday. A yeast starter prepares the yeast for fermentation, and also increases the cell count of a yeast colony. Basically, you make a tiny wort with dry malt extract, cool it, and pitch the yeast into it in a small container like an Erlenmeyer flask or a small jug, and allow it to ferment for a few days. Then, you poor off the wort leaving the yeast cake, and pitch that into your large wort on brewday.

I'd never done one before, so of course, I messed it up. My yeast was only out of the fridge for like an hour. Probably less. I followed John Palmer's instructions in "How to Brew". I made the starter wort with DME, added the yeast nutrient, shook up the yeast (WLP013), pitched it, and aerated the starter. I didn't really look into the vial until I started rinsing it out, when a whole bunch of chunks of yeast came out. By then it was going down the drain. I'm not sure how much yeast got into my starter vessel. There were signs of fermentation in the jug this morning but I went to MDHB to get a new vial, and made another one and added it to the old, just to be sure. Here are some pictures:

Here is the yeast starter from last night. You can see there's a thin film of krausen and the bubbles in the airlock indicating fermentation is occurring.

Here is the Dry Malt Extract and the Yeast Nutrients I used to make the starter wort.

Here is the starter wort boiling.

Here is the new and improved starter with all the yeast in.

And here is a bit of the cider I bottled last week. It's so clear and still pretty tasty! No infected bottles, thankfully.
That's all for now. I'll probably post an update on the starter, but other than that, the next big thing is the All-Grain batch in less than three days!

Friday, March 7, 2014

SMaSH & "Bere" Barley

I know I haven't started my first all-grain batch yet, but I want to get to a point where I can develop my own recipes as quickly as possible. I figure the best way to do that is to really get a sense of what characters each hop and malt varieties lend to a beer. I figure the best way to do that is of course drink beers that feature those varieties prominently, but also make beers that feature those varieties.

In researching ways to do this, I came across what is known as SMaSH (Single Malt and Single Hop) brewing. I love the simplicity of this idea. At least with the base malts, I think it will work wonders. Two different SMaSH beers with the same malt, but different hops would be vastly different and it would give me the best idea possible how those two ingredients work together. In thinking about which malt and which hop I'd like to use first, I considered British varieties since I enjoy British style beers the most. I like the idea of using the oldest varieties I could find. The oldest British hop variety I know of is Goldings (Wikipedia says it was grown prior to 1790). I know the most widely used malt in British styles is Marris Otter, and while it is often called an "heirloom" malt, it wasn't introduced until 1966. I'm not sure I consider 50 years to be heirloom. I asked around on Reddit's homebrewing forum, and some people said that Marris Otter was as close as I would get to an heirloom malt, others said my best bet would be straight two row malt, and others still said I should malt the barley myself. While that last suggestion is intriguing, I'm not quite ready, nor do I have the space to do that just yet (though, in looking that up, I also discovered toasting your own malt, which could produce some interesting and educational results... more on that later).

As I considered using plain old two row, someone still mentioned Bere. It's a six row barley from Scotland that might be from as far back as the ninth century, thought to have been brought down by Vikings. 1200 year old barley? Now that's what I'm talking about. Sadly, it seems to be exceedingly rare, only grown on a relatively small plot in the Orkney Islands. Getting some for myself, let alone in malted form and in enough quantity to make a beer from it will probably be too difficult or expensive to be worth it; and yet...

I discovered a brewery in the Orkney Islands called Valhalla Brewery that makes, as far as I know, the only commercially available beer made from Bere. One company even made a whiskey from Bere malt, but it seems to no longer exist. Anyway, this beer is probably the best chance I'll have of knowing what this malt tastes like. I contacted them to see how possible (and how much money) it would be to ship a case of it over here. I have yet to hear back, but I'm optimistic.

I think what I'll probably do, in the end is use straight up two row (8 lbs?) and a few ounces of Goldings at 60 minutes, 30 minutes, and flameout (if that isn't too much). I'll probably get /r/homebrewing to critique that recipe since it'll be the first one I've developed myself.

Week three of the BJCP class is this Sunday. We'll be discussing and sampling Light Lagers and Ales, and the technical topic is Water. I'm not too excited about the tasting we'll be doing, but I'm sure there will be one or two worth drinking. Regardless it'll be a learning experience. I AM excited about the technical topic. Up to this point, I haven't paid too much attention to water, just used whatever tapwater is available at the time. So, I know pretty much everything discussed will be new to me. I'll remember to take good tasting notes.

Also, I'm going to get to Maryland Homebrew a little early so I can buy ingredients for the batch I'll be brewing with Vick next Saturday. Whatever happens, I'll keep you posted! Oh! Also, I booked my hotel room for the AHA conference. I'm happy I'm going but this trip is proving to be more expensive than I thought...

Tuesday, March 4, 2014

AHA Conference & Video

Just a quick note to mention I secured a spot to the AHA Conference in June.

Also, The Bittah Coont finally started showing airlock activity (edit at the bottom)!

Monday, March 3, 2014

BJCP Class Week 2 & Bottling Cider #2

Snow and ice in the area has closed my work for the day, so I decided to take this opportunity to write about my second week of BJCP, plus, I bottled my second cider.

Each week at class we have one technical topic, and one beer style topic. The technical topic yesterday was Malt. Malt is one of the four critical ingredients in beer along with Hops, Water, and Yeast. Malt really is what makes beer, beer. You can ferment other sugars, or even balance the sweetness of those sugars with hops, but you wouldn't get beer. I don't feel the need to go over the whole presentation, but I thought I'd give an overview of the malting process.

What brewers call malt is malted barley. To make malted barley you steep the seeds of the barley plant, allow them to germinate just a bit, then dry or "kiln" them.

First the barley kernels are steeped in water. During steeping, the water is changed multiple times, and the grains are aerated to release the CO2 the wet grains produce, provide oxygen, and keep the temperature even. Once the root sheath (called a "chit") penetrates the husk of the kernel, the grains are transferred for germination.

During germination, the seeds are allowed to begin growing. Again they are aerated, to provide O2 and release CO2. This is also called "modification". The length to which the barley is allowed to grow is determined by the type of malt the maltster wishes to make with the particular batch. The more it is allowed to germinate the more it is said to be "modified". This modification can change the characteristics of the malt, but also means more starches are consumed by the germinating seed which means there are fewer starches to be made into fermentable sugars. Once the appropriate level of "modification" is reached, the barley is dried and prepared for kilning.

Kilning is the drying or roasting of the malt. The longer a malt is kilned, the darker it becomes and on the darkest end of things, you get the robust coffee and chocolate flavors for stouts and porters.

Unfortunately, we didn't go as much as I would like into the specific types of malts and what characteristics these malt impart to the beer. Maybe we'll get into it more later in the class.

The beer topic this week was Amber and Dark Lagers. These are lagers (meaning they were fermented with "bottom fermenting" yeasts at lower temperatures) with a malt-forward presence and very little hop flavors or aromas. We sampled a commercial version of each of the sub-styles. After the class I kicked myself because I really should have taken tasting notes for the blog as well as to practice my writing skills in relation to judging. I was focused too much on the tasting itself and seeing what characteristics I could identify. I'll make sure to take good notes from now on. For today, though, I'll give my impressions from memory.

European Amber Lager
Vienna Lager - Cutlass from Heavy Seas: My third favorite from the flight. Clean and refreshing with toasty notes and good balancing sweetness. I also got a good whiff of honey on the nose. I remember having this when I first got into craft beer, but then they were advertising it as a Maerzen. Someone in the class told us that when Heavy Seas was entering it into competitions it was only getting mediocre marks. But, when they entered it as a Vienna Lager it started winning all sorts of awards, so they rebranded it.

Oktoberfest/ Maerzen - Fall Fest from Abita: I think this would have been a lot better if it had been a fresher bottle. It was quite similar to the Cutlass, but it lacked that clean taste and mouthfeel. I hesitate to say it tasted a bit of cardboard on the finish, but there was definitely something "off" right at the end.

Dark Lager
American Dark Lager - Beck's Dark: I tried to keep an open mind about this one, but I've never been a fan of Beck's in general, and it always tastes a bit skunky to me, most likely due to the green bottle. This was no exception. Strangely, though, the malt sweetness balanced this flaw out pretty well, and mixed with everything else, it kind of added character, in a good way.

Munich Dunkel - Kloster Dunkel from Ettaler: This was was similar to the Cutlass, but a little more complex. Rather than simply malt sweetness, there was breadiness and maybe a hint of hop bitterness.

Schwarzbier - Koestritzer Schwarzbeir: I think this was my second favorite of the flight. Where the previous ones in the flight had toasty malt flavor, this one was more "roasty" meaning, for lack of a better term more "burnt" but not unpleasantly so.

Bock
Maibock/ Helles Bock - Mai-Ur-Bock from Einbecker: Because all of these beers are "malt-forward" I feel like I'm just going to repeat a lot of the same words over and over. This one and the next both had a little more hop bitterness to balance out the sweetness.

Traditional Bock - Ur-Bock Dunkel from Einbecker: This one was darker than the Maibock, and even though the BJCP style guidelines would have it reversed, I thought this one was a bit less sweet than the previous.

Doppelbock - Celebrator from Ayinger: I've had this one a few times. It and the Cutlass were the only ones I'd had previously. This one was the darkest, sweetest, and most complex. It even has a slight red tint to the dark brown.

Eisbock - Kulmbacher Eisbock: My favorite one of the flight, and the most complex. It had many flavors I couldn't pin down. One in particular I recognized but couldn't place. It wasn't until I talked with some of my classmates that I figured out it was akin to a sweet almost coconutty rum. I need to find this again.

All in all, a good class. I was unaware of a couple of these sub-styles and got to try a bunch of beers I'd never had before. The malt presentation was very informative and I intend to look deeper into some of the specifics of the subject.

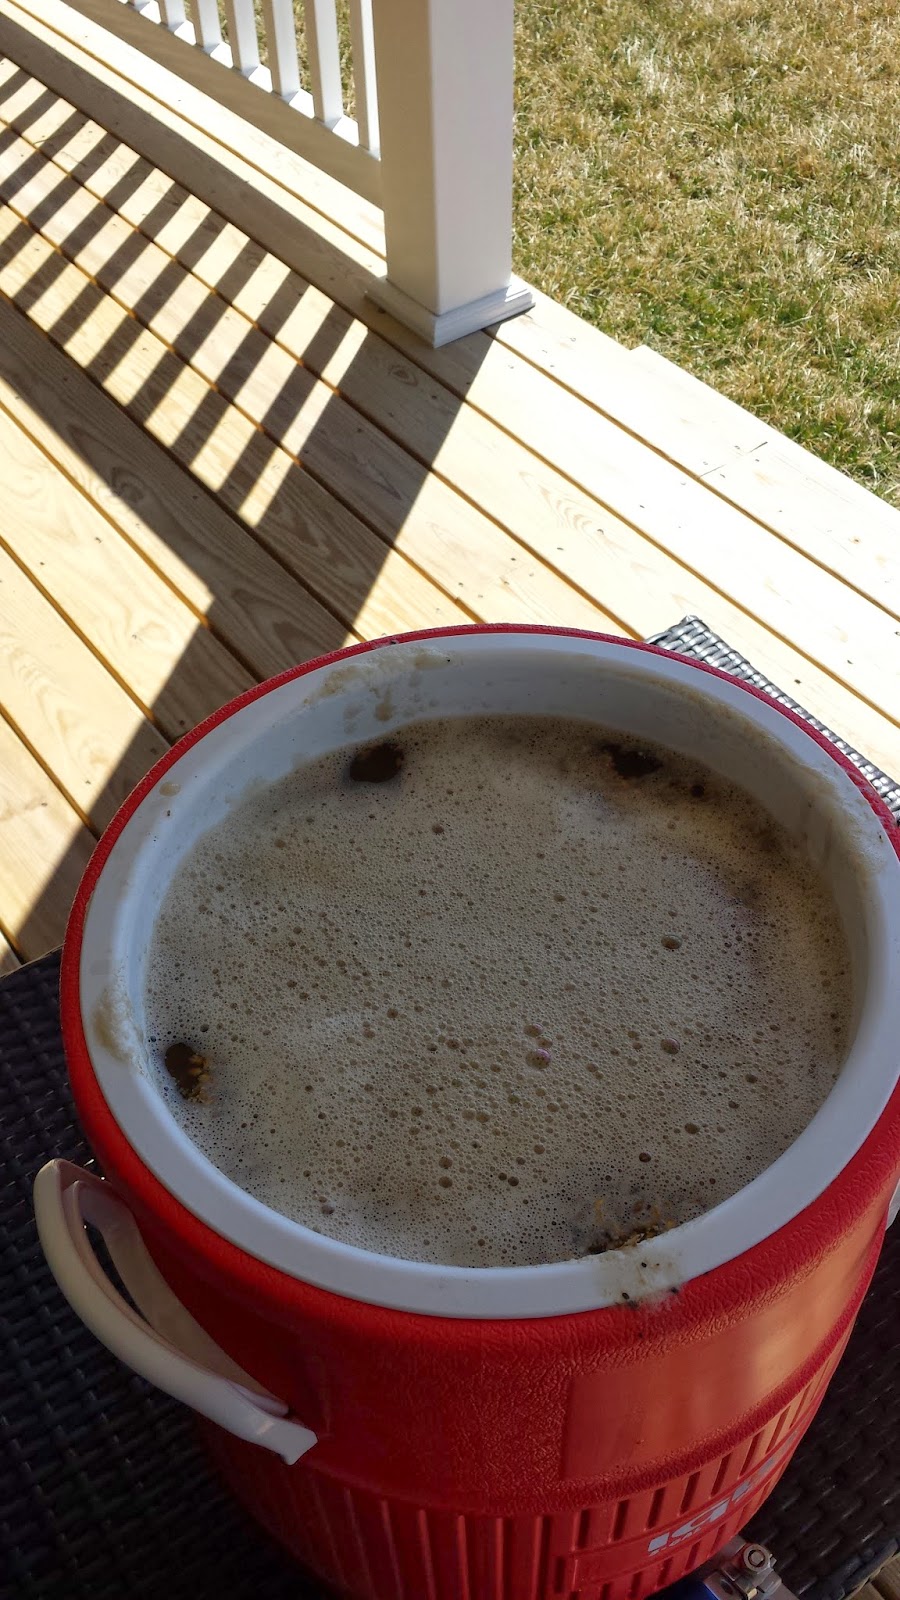
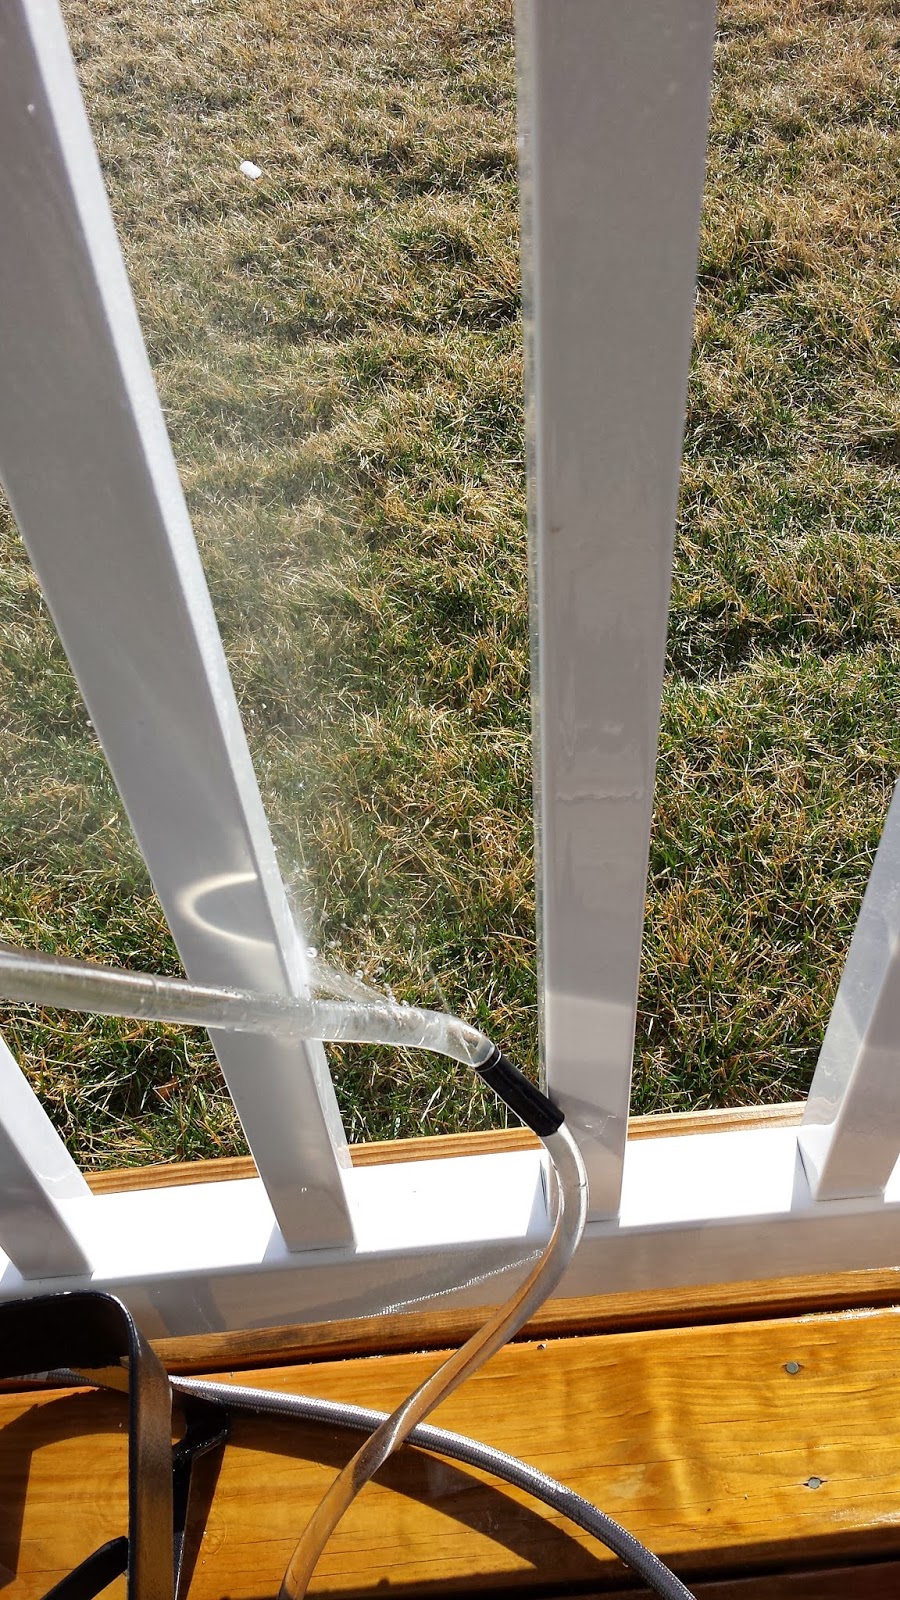
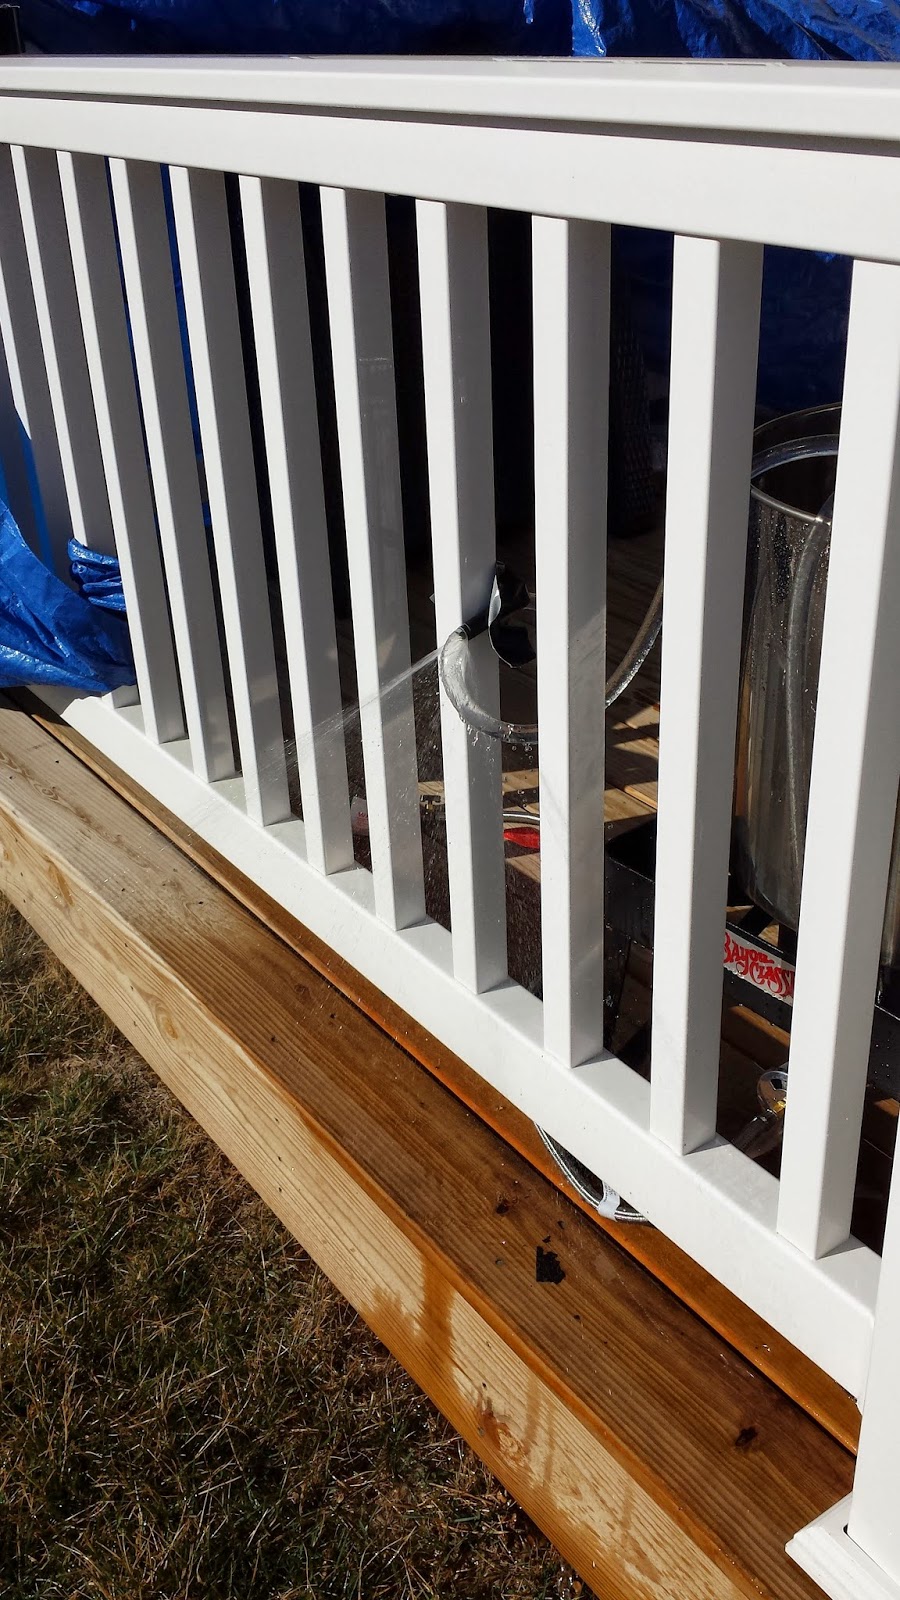
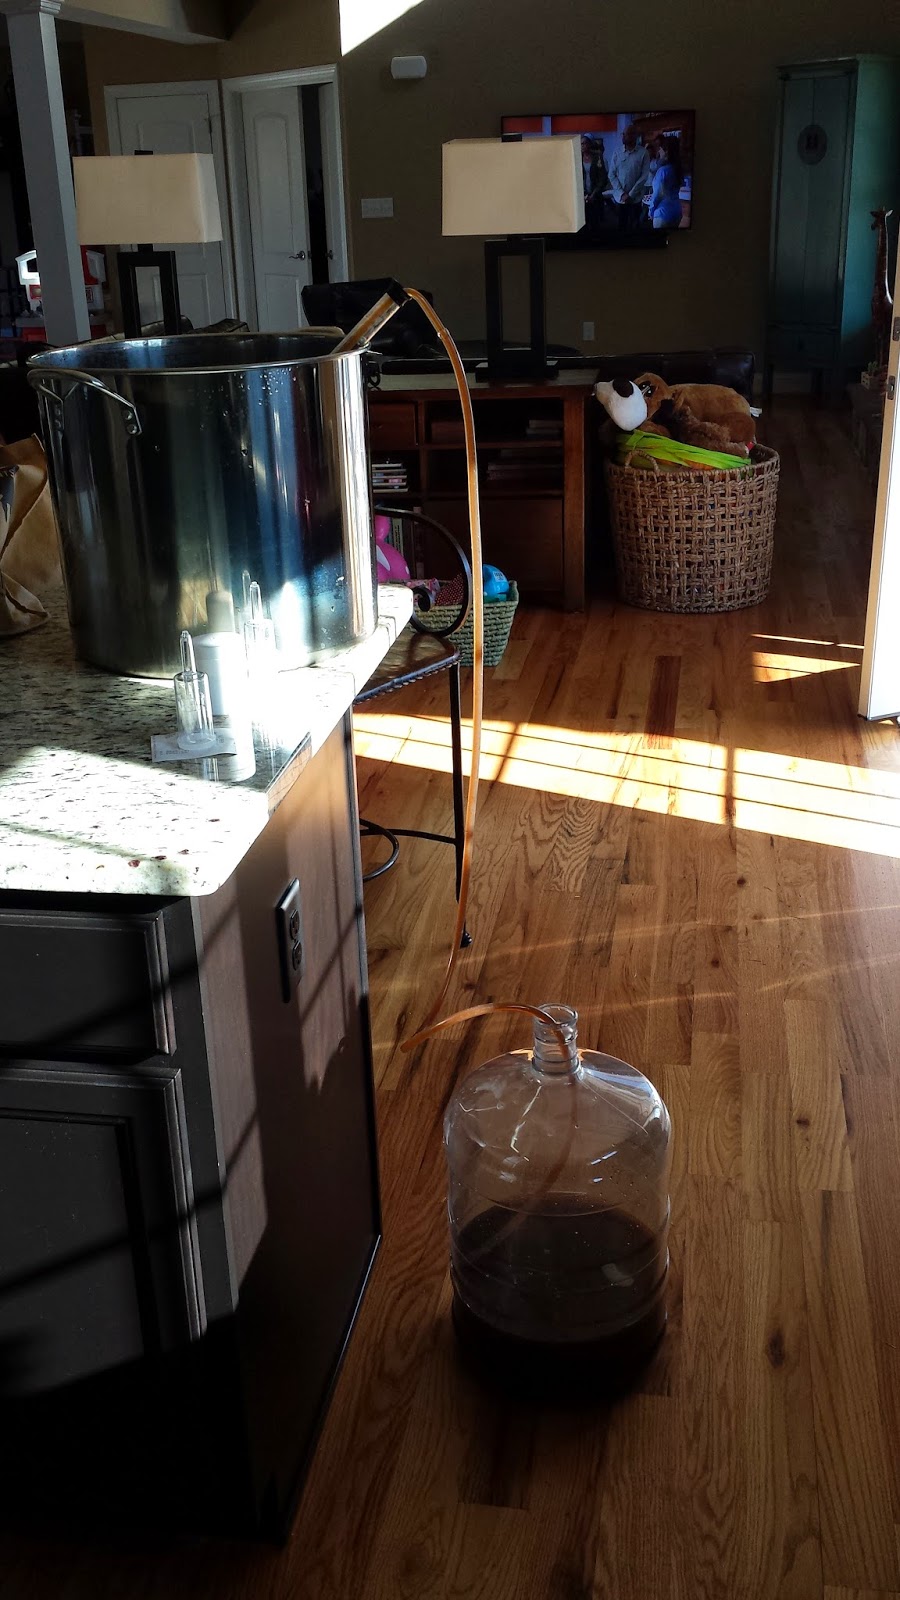
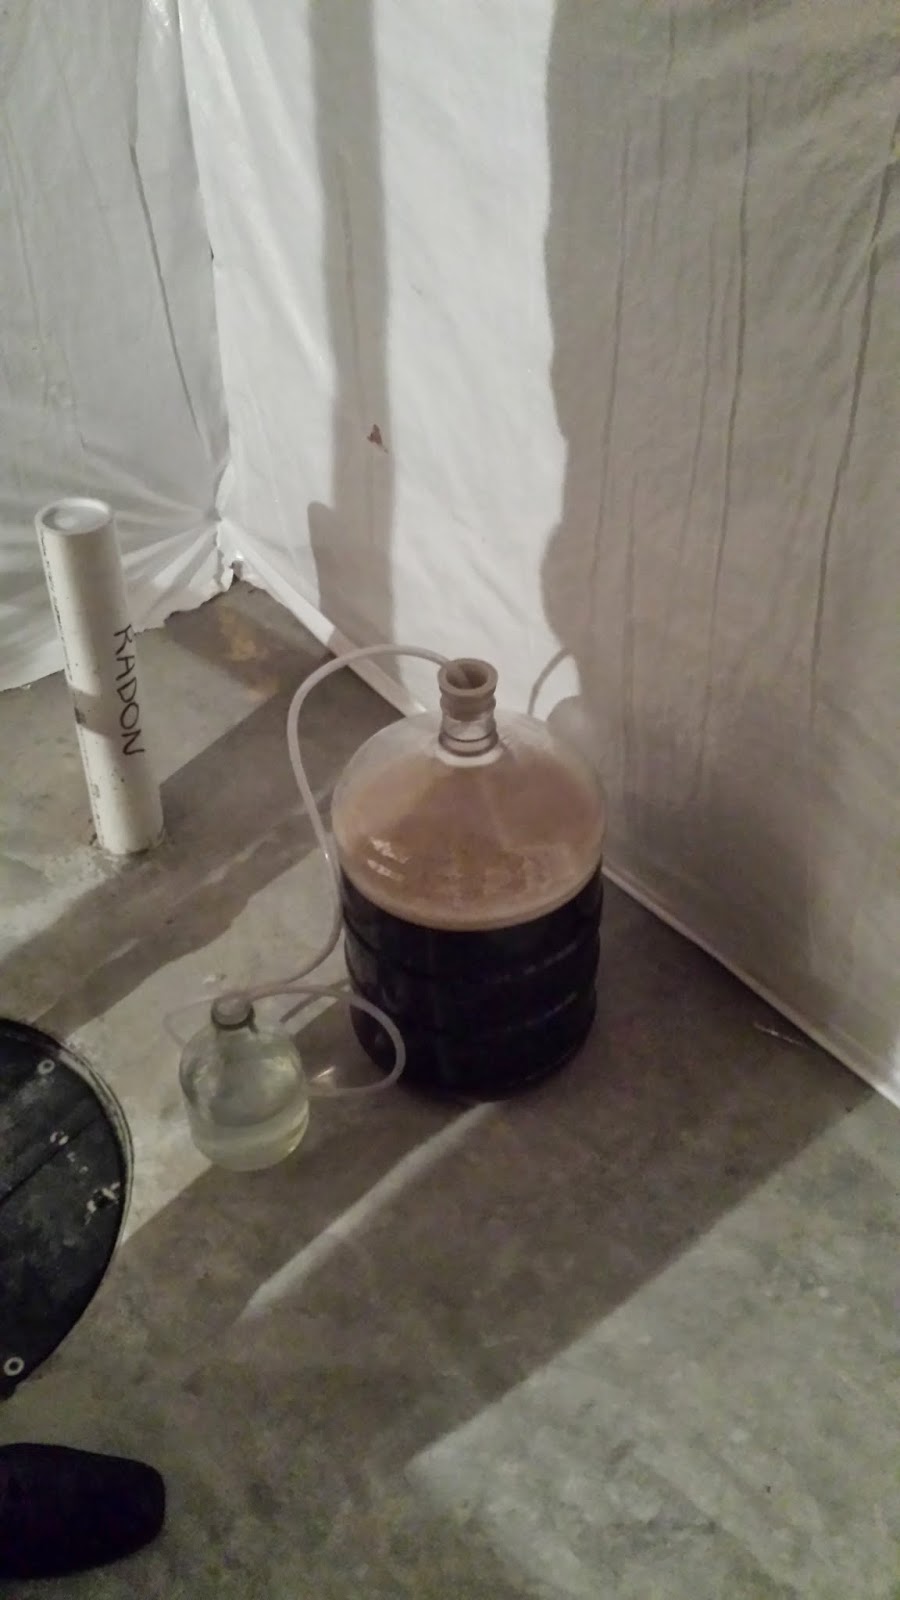
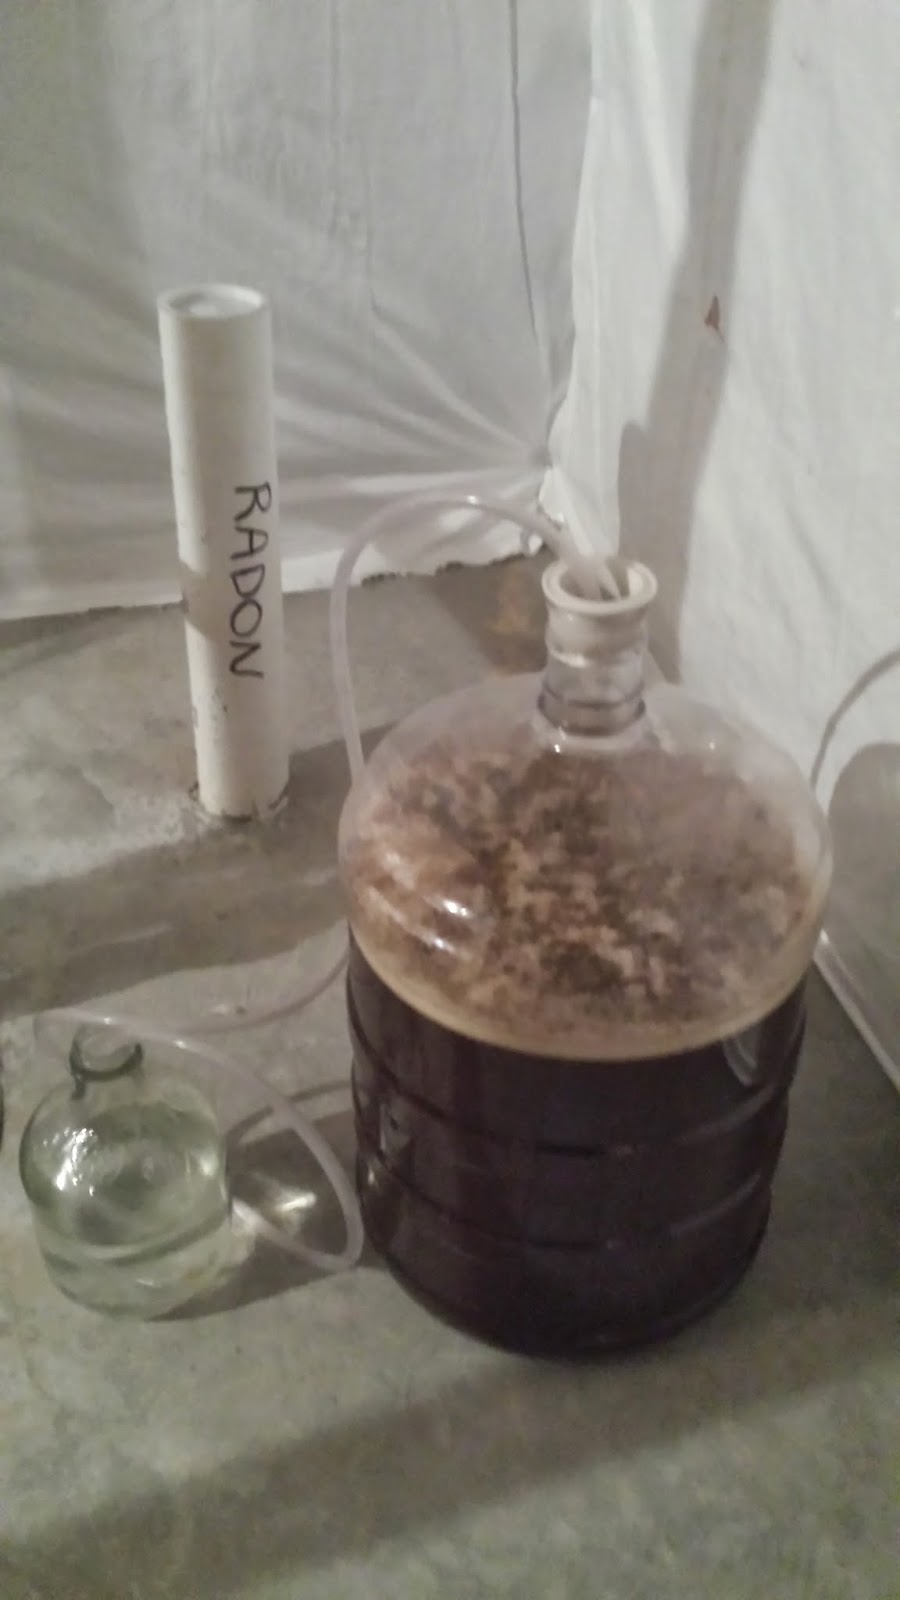
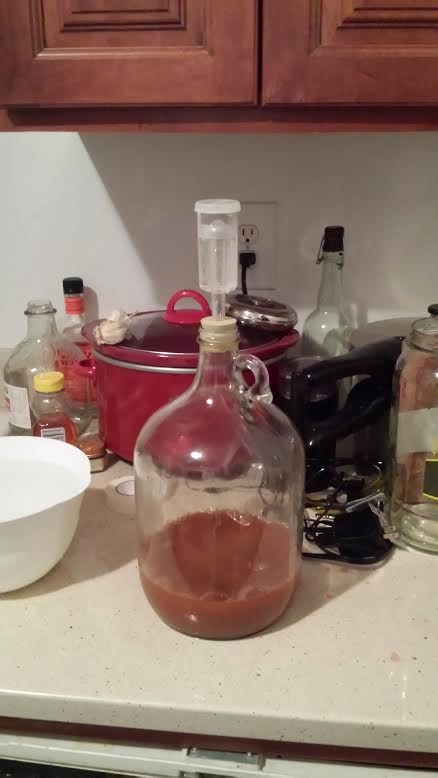
When I woke up today, I decided I would bottle my second cider. I'm having some pulled straight from the bottling bucket as I type this. Luckily I had just enough bottle caps on hand to get the job done. I think I only have like 12 or 15 left now.

There was a little issue, though. As I was bottling I noticed that even though I had run the bottles through the dishwasher and the heated dry, some of the bottles had a powdery white gunk on the inside. I think it's from forgetting to rinse and properly dry them after I drank from them. Most of these bottle had held the first cider. I put each offending bottle aside, and when I was done I had only bottled a case's worth. I covered the bottling bucket with some paper towels, then scrubbed the bottles with my bottle brush and rinsed them out with sanitizing solution (using up the last of my powder) and ran them through the dishwasher again before finishing bottling. I got just three bottles shy of two cases. The initial brewing notes and tasting notes at racking can be found here.

Now for tasting notes:

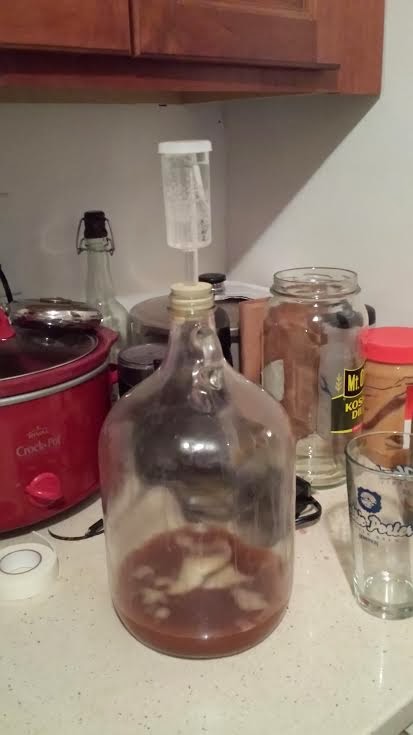
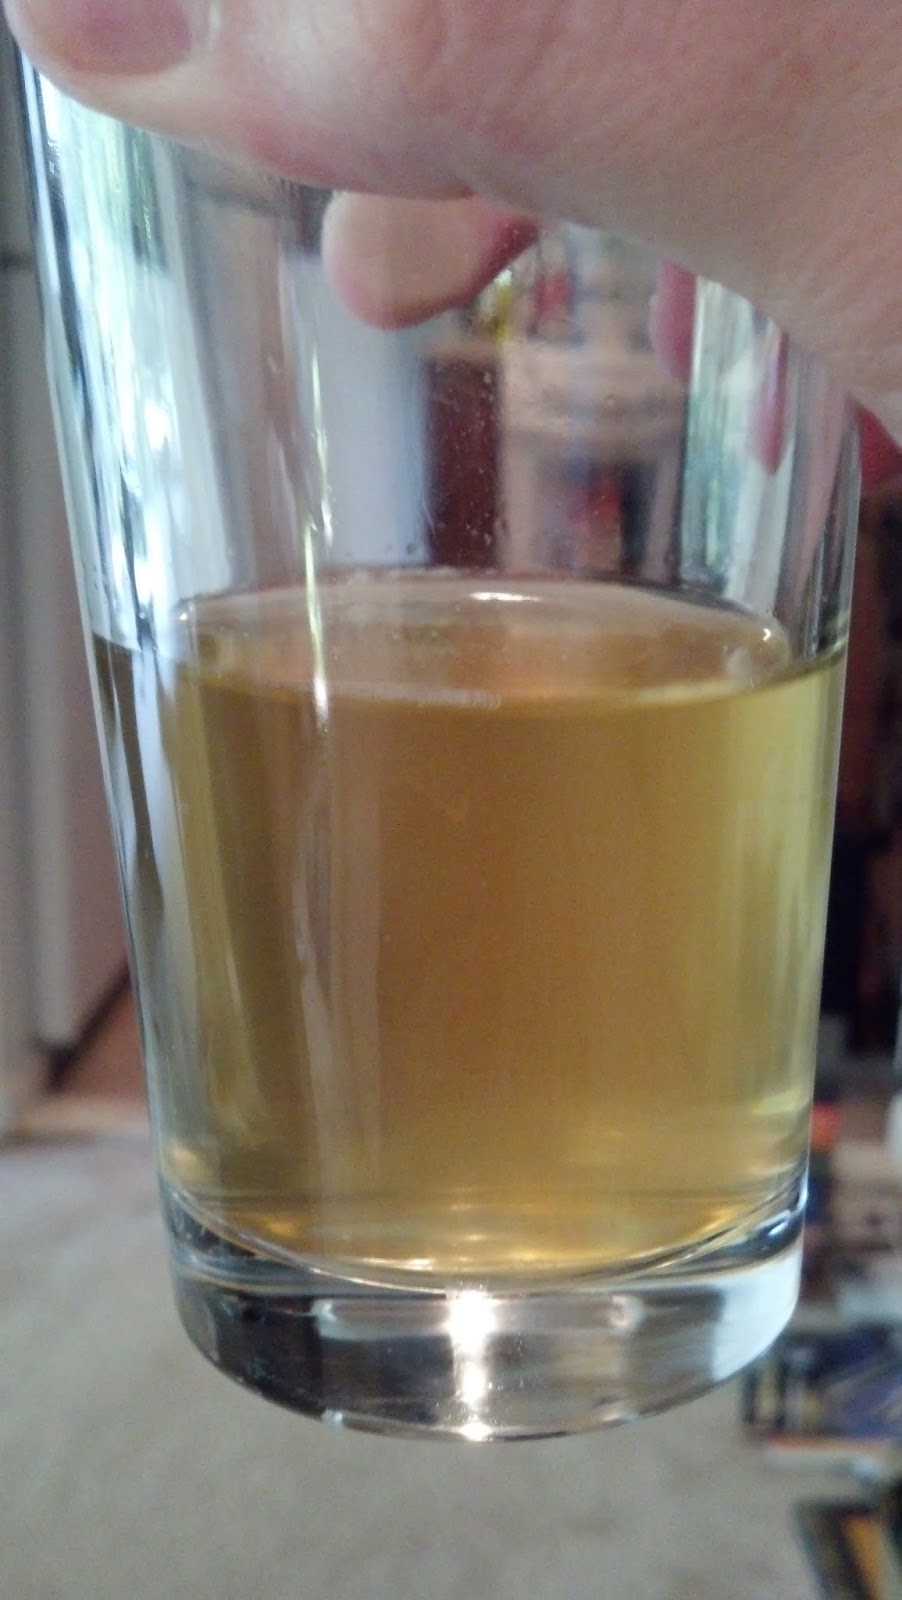
It is a pale gold color, and is very clear. I placed a typewritten page on the other side of the glass and could read through it. I tried to take a picture, but the camera made the text blurry. Here's a picture I can use:


It smells of tart and slightly sour apple with a hint of nuttiness, and unfortunately the faintest smell of rubbing alcohol. Fortunately, the alcohol smell doesn't transfer to the taste. Definite tart apple, and the nuttiness comes out much more in the flavor. I think this is because of the prolonged time I kept it on the lees. The mouthfeel is light but not thin.

This certainly has more flaws than the last one, but it is also the most complex. All in all, good. I think that's because I used farm fresh cider rather than store bought. I'd love to use it again. I like the nuttiness, but it seems a bit out of place. I'd like to experiment and see if I can't get it into a beverage that can compliment that flavor better.

I'll probably leave this in the bottle for a few weeks before drinking. I'm a little worried about the possibility of tainted bottles, so I need to give any problems that might arise enough time to show themselves. Lesson definitely learned. I need to inspect bottles better before and after washing and sanitizing. If I had caught the gunk before putting the bottles through the washer, I could have scrubbed them out and avoided the little bottling "half-time".

I think that's enough for the day... I really need to come up with a good way to end these posts... Cheers is too obvious...

Sunday, March 2, 2014

"The Bittah Coont"

On a whim, I decided to brew an extract batch yesterday. Planning my all-grain batch has really given me the brewing bug. Two weeks is too long to wait! I was visiting my friend Jay, so I asked him if he minded if I used his kitchen and he didn't. I grabbed a beer recipe book I've not used before and we went to the homebrew supply store.

The book is "Brewing Classic Styles" by Jamil Zainasheff and John J. Palmer. Since Jay and I are planning a trip to the UK in a year or two, I decided we would make an English Bitter. Here's the recipe in a nutshell:

Extract
6 lbs English Pale Ale LME


They didn't have cans of less than 4 lbs, so I ended up wasting about 2 lbs. I felt bad about it, but I figured I wouldn't leave it sitting around at his house especially since I wasn't sure when I'd get to use it again. 

Steeping Grains
1/2 lb Crystal
1/4 lb Special Roast

I didn't take a picture of the grains themselves, but here they are steeping.

Hops
1 oz Kent Goldings @ 60 min
1/2 oz Kent Goldings @ 30 min
1/2 oz Kent Goldings @ 1 min

Jay had never brewed before, and he was surprised at how pungent the hops smelled. Yum!
Yeast
White Labs WLP002 English Ale (didn't take a picture of the yeast).

I wasn't sure how long to steep the grains, since the recipe didn't specify, so at first, I figured I'd steep them until the water reached 154° F since in the all-grain version of the recipe that's the mash temperature. But, by the time the water reached 100° F, it had already been in there for quite a while, so I took it out then.

You can see how much darker the water is less than 20 mins later.
  Since it was just me brewing, and Jay was working on a paper, I wasn't able to take as many pictures as I would have liked (and I also just forgot during a couple steps).

It took much longer than I expected to get the water to a boil. By like, an hour. No joke. I blame both Jay's electric range (I'm used to brewing with a gas stove top) and the fact that I forgot the top to the boil kettle. Once we found a top big enough to mostly cover the kettle, it heated up a lot faster.

Here is the boiling wort before the second hops addition:

39:31 left in the boil!
I usually dunk my wort chiller into the boil 5-10 minutes before the end, to sanitize it, but I forgot that I had run cold water through it to check that everything was hooked up tightly. The temp plummeted about 60° with eight minutes left. I ran some hot water through the chiller to try to get the temp back up, but it didn't get up high enough; probably because we couldn't put the top on with the chiller in. Hopefully it won't be a huge deal. I'm not too concerned. I added the last bit of hops right at flameout. The recipe said one minute, but I figured since the water wasn't exactly boiling, it wouldn't make much difference.

Then I cooled the wort (thanks to the cold weather it got down to 70° in no time), topped it off with about 2.5 more gallons of water, aerated it (with Jay's help), pitched the yeast, and we were done.

I always forget to take gravity readings, and I left my hydrometer at home, so I'm not sure what the originally gravity was. I need to figure out a way to help myself remember. The recipe says 1.038. I have a feeling that it was higher than that because I'm pretty sure I used a bit more than 6 lbs of extract. I eyeballed half of the second can so I probably over-estimated. Also, I'm not sure how the accidentally shortened boil would affect it.

I crashed on Jay's couch last night, and as of 11 am today, there still wasn't any airlock activity. I wonder if it got too cold what with topping off with cold water. I left the beer at Jay's and told him to keep an eye on it until we're ready to bottle. He's going to send me a video once he sees some activity, and I'll edit this post with it.

This is the first time I've brewed completely by myself. I usually had brewed with my Dad, and the last time we did was in July, not long before he moved back to MN. There were a couple snafus, but I don't think they were anything huge. I'm still going to end up with (hopefully tasty) beer.

Jay and I named the beer "The Bittah Coont" (inside joke, don't ask). I'll most likely bottle in about four weeks. I'll keep you updated!

I also had my second BJCP class tonight. But, since they already decided to close work tomorrow due to incoming snow, I'll write about that then so I have something constructive to do.

Cheers.

EDIT 3/4/14: Here she is, bubbling away!


Jay didn't notice activity until last night. I've never have a brew take that long, so I was slightly worried. I have a feeling it was just a little too cold.

Tuesday, February 25, 2014

Triumphant Return: BJCP, All-Grain, AHA Conference, & State-of-the-Brewery

Hello everyone!

It has been going on six months since I last updated this journal. This fall I went through some personal issues that prevented me from brewing, and this winter, I'll be honest, I just sort of lost the motivation. But I'm back now!

Last Sunday I began an 11 week class intended to prepare me for the Beer Judge Certification Program (BJCP) test. If I pass the test, I will be a "Recognized" judge which will allow me to participate in BJCP competitions as a judge or other "staff" positions. On the whole, though, I'm taking this class to delve deeper into the hobby. Other than getting some sort of degree in brewing, it's the only formalized class I know of that will teach this kind of information. The first class was mostly about BJCP processes and conduct and that sort of thing. We'll get more into the beer-specific stuff later. I can tell I will learn pretty much everything I've ever wanted to know. From this end, it looks like the test is going to be pretty damn difficult, but it's still really exciting. I'll keep you updated on how the class goes as it progresses. I'm particularly interested in Recipe Formulation. I really want to get to the point where I can make my own recipes from scratch rather than following someone else's.

Over Christmas, my mother and her boyfriend, Vick, gave me a bunch of all-grain equipment: a larger brew kettle, a propane burner, and a few other things. Then, a few weeks ago I finally got myself a mash tun. SO that means I can finally brew my first all-grain batch. Vick is interested in learning more about brewing so we're going to do that together on the 15th of March. Also exciting! I'm considering brewing the Brown Ale recipe found in John Palmer's How-to-Brew.

I've also applied to register for this year's National Homebrewer's Conference. Apparently, the demand is so high that you can't just sign up and go; you have to secure a spot. I haven't heard back as to whether or not I've got one, but I'm hoping to hear in the next week or so. If I have, then I'll be going to Grand Rapids in June. Have I used the word exciting yet?

Now, what's going on in the brewery itself, you ask? Well, not much. Cider #1 is gone. It aged pretty well, and between August and about a month ago when I drank the last bottle, it continued to have less alcohol burn. I kind of wish I had kept a bottle or two around to drink in a year or so, but, I can move on to different recipes. Cider #2 and the mead are still in secondary. I think it's time to bottle them both. I'll do that between now and March 15. Hopefully they improved with time.

That's all I have for now. Lots of good stuff coming up, though!

Cheers!

Monday, September 2, 2013

Racking my Mead

I racked my mead today. It went ok, except it was coming down the tube of the auto-siphon fairly quickly and was creating little bubbles. I'm a little worried about oxygenation, but I think it will probably be fine. I caught a little bit of the lees, but for the most part kept it clean. That'll settle out pretty easily, I'm sure.

It came out a little clearer than I was expecting.


It smelled like a strong white wine, and has good mouthfeel, but... it kind of tastes like cough syrup. From a little reading, it seems this is a common thing for young meads. I might give it a taste after a few months, but I'm going to wait a good six months before bottling, and probably another six months before drinking. I'll play it by ear.

Also, I think my pale ale is ready to drink. I'll try it tonight. I tried it a couple weeks ago and it was definitely too early.

Monday, August 26, 2013

All-Grain Brewing Class

On Saturday afternoon I took a class at MD Homebrew on how to brew using all-grain. It was fun. Trevor the instructor tended to ramble a little bit, but he was aware of it and tried his best to stay on topic. A couple of the "students" were a little annoying. One guy tried to show off how much he knew at every opportunity (so... why are you taking the class if you know so much?) and another guy asked too many questions, lots of them with really obvious answers. Overall, I'm glad I took it though. $20 for a class plus a few free homebrews and pizza for lunch is a pretty good deal.

We brewed an IPA while Trevor explained things step by step. I didn't learn quite as much as I expected to, though. I've done so much reading on the subject that now that I think about it I'm not all that surprised. But, seeing the mash being done first-hand really demystified it for me. It truly is just steeping grains in hot water. The most important thing I learned is about monitoring the mash temperature. But even then, that's just keeping the grains in between 144 and 166F (those numbers might not be spot on, but I'm sure I can find the right range somewhere online). I also learned a little bit about what is actually happening in the mash. Like I said, I did a lot of reading, but some of the technical jargon made it a little confusing. Trevor was good at explaining things in layman's terms. Everything else I've read about like monitoring PH and other more complicated things I can add as I gain experience. For now I'm just going to try to make a decent beer from scratch. The science and advanced knowledge will come with time. By the end of the year, I plan on purchasing my all-grain equipment and having an all grain brew in the primary.

Here we go!

Thursday, August 15, 2013

Mini-Cider Fermenting

Here is a quick video of a > 1 gal cider fermenting. It's an experiment using raisins as a yeast nutrient:


*bloop* *bloop* Happy bubbles!

I used 3 liters of Martinelli's Apple Juice, 1/4 cup "Essential Everyday" brand raisins, and  Lalvin 71B-1122 yeast strain. I'll rack it after four weeks.

I really should pay more attention to and research yeast strains. I kind of just pick them at random. As long as they say "Ale Yeast" or "White Wine Yeast" or whatever it is I'm brewing, I grab it. But really, there's a lot more variety than that.

I found this yeast database on /r/mead. I had to create a copy of it in order to share it here, so I don't want to give the impression the work is mine. I'm not sure who's responsible for compiling it, but I do know that this reddit user gathered a whole ton of documents and articles on making mead (of which that database is a part) that will continue giving me valuable information for a long time.